
Since sawdust is mixed in the clay, it needs to do from dry to wet.
These are the ingredients that you need for making the clay are the following:
- Sawdust
- Dry Clay
- Water
- (Colodial silver)
- A mold
- A kiln
1.
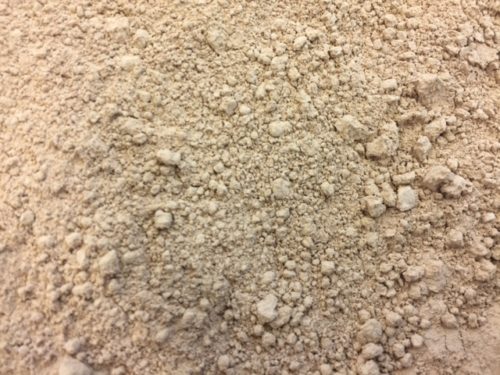
Mix the sawdust with the ball clay. (Warning! Dry clay is very harmful for the lungs, you should always use a mask and do it under ventilation or outside.) Parts should be 50/50, but you could also use more sawdust and still get a good functional filter. The size on the sawdust should be quite small, a #30 (600 Micon) size sieve works best, although other sizes can work. Smaller is not advised, as it will be a slow process to sieve and will slow the filtration rate. Larger can be used, up to the size of a window screen, although the filtration quality will suffer some, since it will reduce both plasticity and strength.



2.
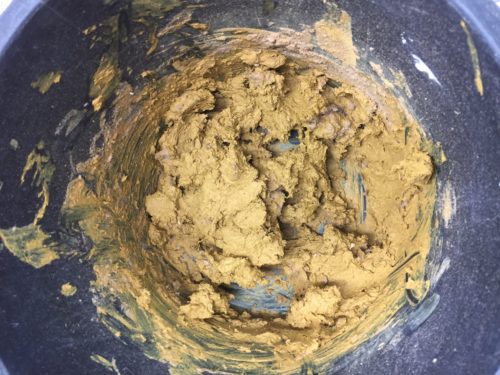
Add water. Just add a bit of water at a time and mix it well.


3.
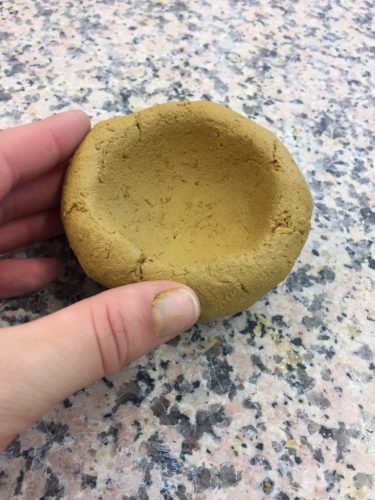
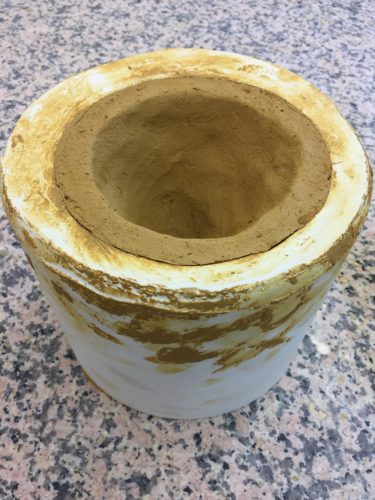
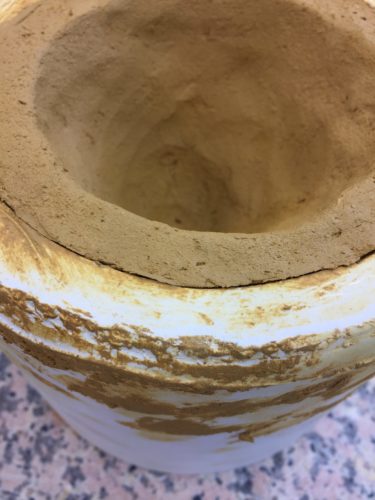
Once the clay is workable, wedge it to further mix the clay and remove bubbles from the inside of the clay. Then shape into the form you want. Either just like a small bowl or by carefully smudging it in a mold. But make sure that there is no air inside, otherwise the bowl risk exploding in the oven due to air pressure. Ideal wall width should be around 0.5 – 1 cm.



4.
Fire it. A temperature around 890 degrees C is the optimal firing temperature because it creates a balance between porosity and strength. The organic material (the sawdust) will burn off, leaving behind pores for the filtration to take place.
THINGS TO BEWARE OF:
Beware of cracks. If the firing was done correctly, it should not have resulted in any significant cracks, although there may be some cracks leftover from the forming of the clay. Cracks will make any filtering done by the ceramic useless.
The clay will need to be soaked in water before it can actually filter anything, otherwise your first attempts at filtering water through will just be soaked into the body of the ceramic. Once it has been soaked, pour the water to be filtered in and place the pot over something such that it can drip out of the bottom. If you do this soaking in colloidal silver, the filter gets an even better protection.
If this process is done correctly, this filter should have the ability to filter out 95% (or up to 99% with colloidal silver) of the pathogens in the water.


WHY COLLOIDAL SILVER?
You have probably done this at one point of your life. Throwing a silver coin in a well for good luck? That’s probably is a part of old folklore, since silver has been long known for having effective antibacterial properties. That it’s colloidal means it is a mixture in which one substance of microscopical particles is suspended throughout another substance (in this case silver particles in water).
Colloidal silver is deactivating the bacteria. The quantity of colloidal silver applied per filter was more important to bacteria removal than the method of application. The best method of application is to dip it in colloidal silver for a few minutes when it’s fired. Lining the filter with colloidal silver also prevents the growth of microorganisms within the filter itself.
